101Leafy researched the games.
Chocolate Island 4
A level in Chocolate Island: map spot $1D, level data $01D. The timer starts at 300.
From the books
チョコレー島コース4 「斜め地形のジグザグ洞窟。溶岩の上は斜めリフトで通過する。」
"A zigzag cave of slanted ground. You pass over the lava on a slanted lift." (our translation)
スーパーマリオブラザーズ百科 任天堂公式ガイドブック (Shogakukan, 2015) p58
From the magazines
ななめリフトがあるぞ 「幅広い地下面だ。ななめリフトに乗って移動するところもあるぞ。」
"A wide underground course. In places you ride diagonal lifts to get around." (our translation)
スーパーマリオワールド 完全攻略本 Vol.2 (ファミリーコンピュータMagazine 1991 No.2 supplement, Tokuma Shoten, 1991) p20
ななめリフトで移動 「ここで初登場するのがななめリフトだ。名前のとおりななめ方向に移動するのだ。」
"The diagonal lift makes its first appearance here. As the name says, it moves diagonally." (our translation)
スーパーマリオワールド 完全攻略本 Vol.2 (ファミリーコンピュータMagazine 1991 No.2 supplement, Tokuma Shoten, 1991) p20
スイッチを押してからいこう 「各色のスイッチを押していれば、ここにある3つの1UPキノコを取ることができるぞ。」
"If you have pressed every colored switch, you can get the three 1UP Mushrooms here." (our translation)
スーパーマリオワールド 完全攻略本 Vol.2 (ファミリーコンピュータMagazine 1991 No.2 supplement, Tokuma Shoten, 1991) p20
うまいキノコの取り方 「キノコが出たら、右のブロックをたたいて、キノコを左へ飛ばすと、キノコは下へ落ちてくるので取りやすい。」
"When the mushroom comes out, hit the block on the right to send it left, and it drops down where it is easy to catch." (our translation)
スーパーマリオワールド 完全攻略本 Vol.2 (ファミリーコンピュータMagazine 1991 No.2 supplement, Tokuma Shoten, 1991) p21
自由落下する隠し面だ 「土管に入った先にあるのが、この隠し面だ。Pスイッチを押すと、全てのプンプンブロックがコインに変わるので、一気に下まで落ちていくぞ。」
"This hidden area is past the pipe. Press the P-Switch and all the turn blocks become coins, so you fall straight to the bottom." (our translation)
スーパーマリオワールド 完全攻略本 Vol.2 (ファミリーコンピュータMagazine 1991 No.2 supplement, Tokuma Shoten, 1991) p21
Pスイッチが何度でも復活 「チョコレー島で、Pスイッチが復活して1UPキノコが何回でも取れる、マリオの無限増殖技ができるやり方がわかった。」
"We found out how to do an endless 1-Up trick on Chocolate Island, where the P-Switch comes back and you can take the 1-Up Mushrooms as many times as you like." (our translation)
スーパーマリオワールド 完全攻略本 Vol.4 (ファミリーコンピュータMagazine 1991 No.6 supplement, Tokuma Shoten, 1991) p25
Pスイッチが何度でも復活 「するとまた、Pスイッチが復活しているので、1UPキノコを何回でも取りに行けるぞ。」
"Then the P-Switch is back again, so you can go and take the 1-Up Mushrooms as many times as you like." (our translation)
スーパーマリオワールド 完全攻略本 Vol.4 (ファミリーコンピュータMagazine 1991 No.6 supplement, Tokuma Shoten, 1991) p25
震えるマリオ 「マリオがブルブル震えるウル技だ。」
"A trick where Mario shakes and shivers." (our translation)
スーパーマリオワールド 完全攻略本 Vol.4 (ファミリーコンピュータMagazine 1991 No.6 supplement, Tokuma Shoten, 1991) p34
震えるマリオ 「やり方は、まずチョコレー島のコース4に行こう。そして、写真Kの場所まで行く。次に、ブロックが5つ並んでいるところで、一番右端のブロックの真下に、マリオを移動させよう。すると動く足場が上に移動すると、マリオがその動く足場に乗り、ブルブル震えてしまうんだ。」
"First go to Chocolate Island course 4 and head for the spot in photo K. Next, where five blocks are lined up, move Mario right under the block at the far right. When the moving platform goes up, Mario rides on it and starts shaking and shivering." (our translation)
スーパーマリオワールド 完全攻略本 Vol.4 (ファミリーコンピュータMagazine 1991 No.6 supplement, Tokuma Shoten, 1991) p34
- Name in the game
- CHOCOLATE ISLAND 4
- World
- Chocolate Island
- Map spot (translevel)
- $1D
- Level number
- $01D
- Timer
- 300
- Normal exit
- map event $4B
Map
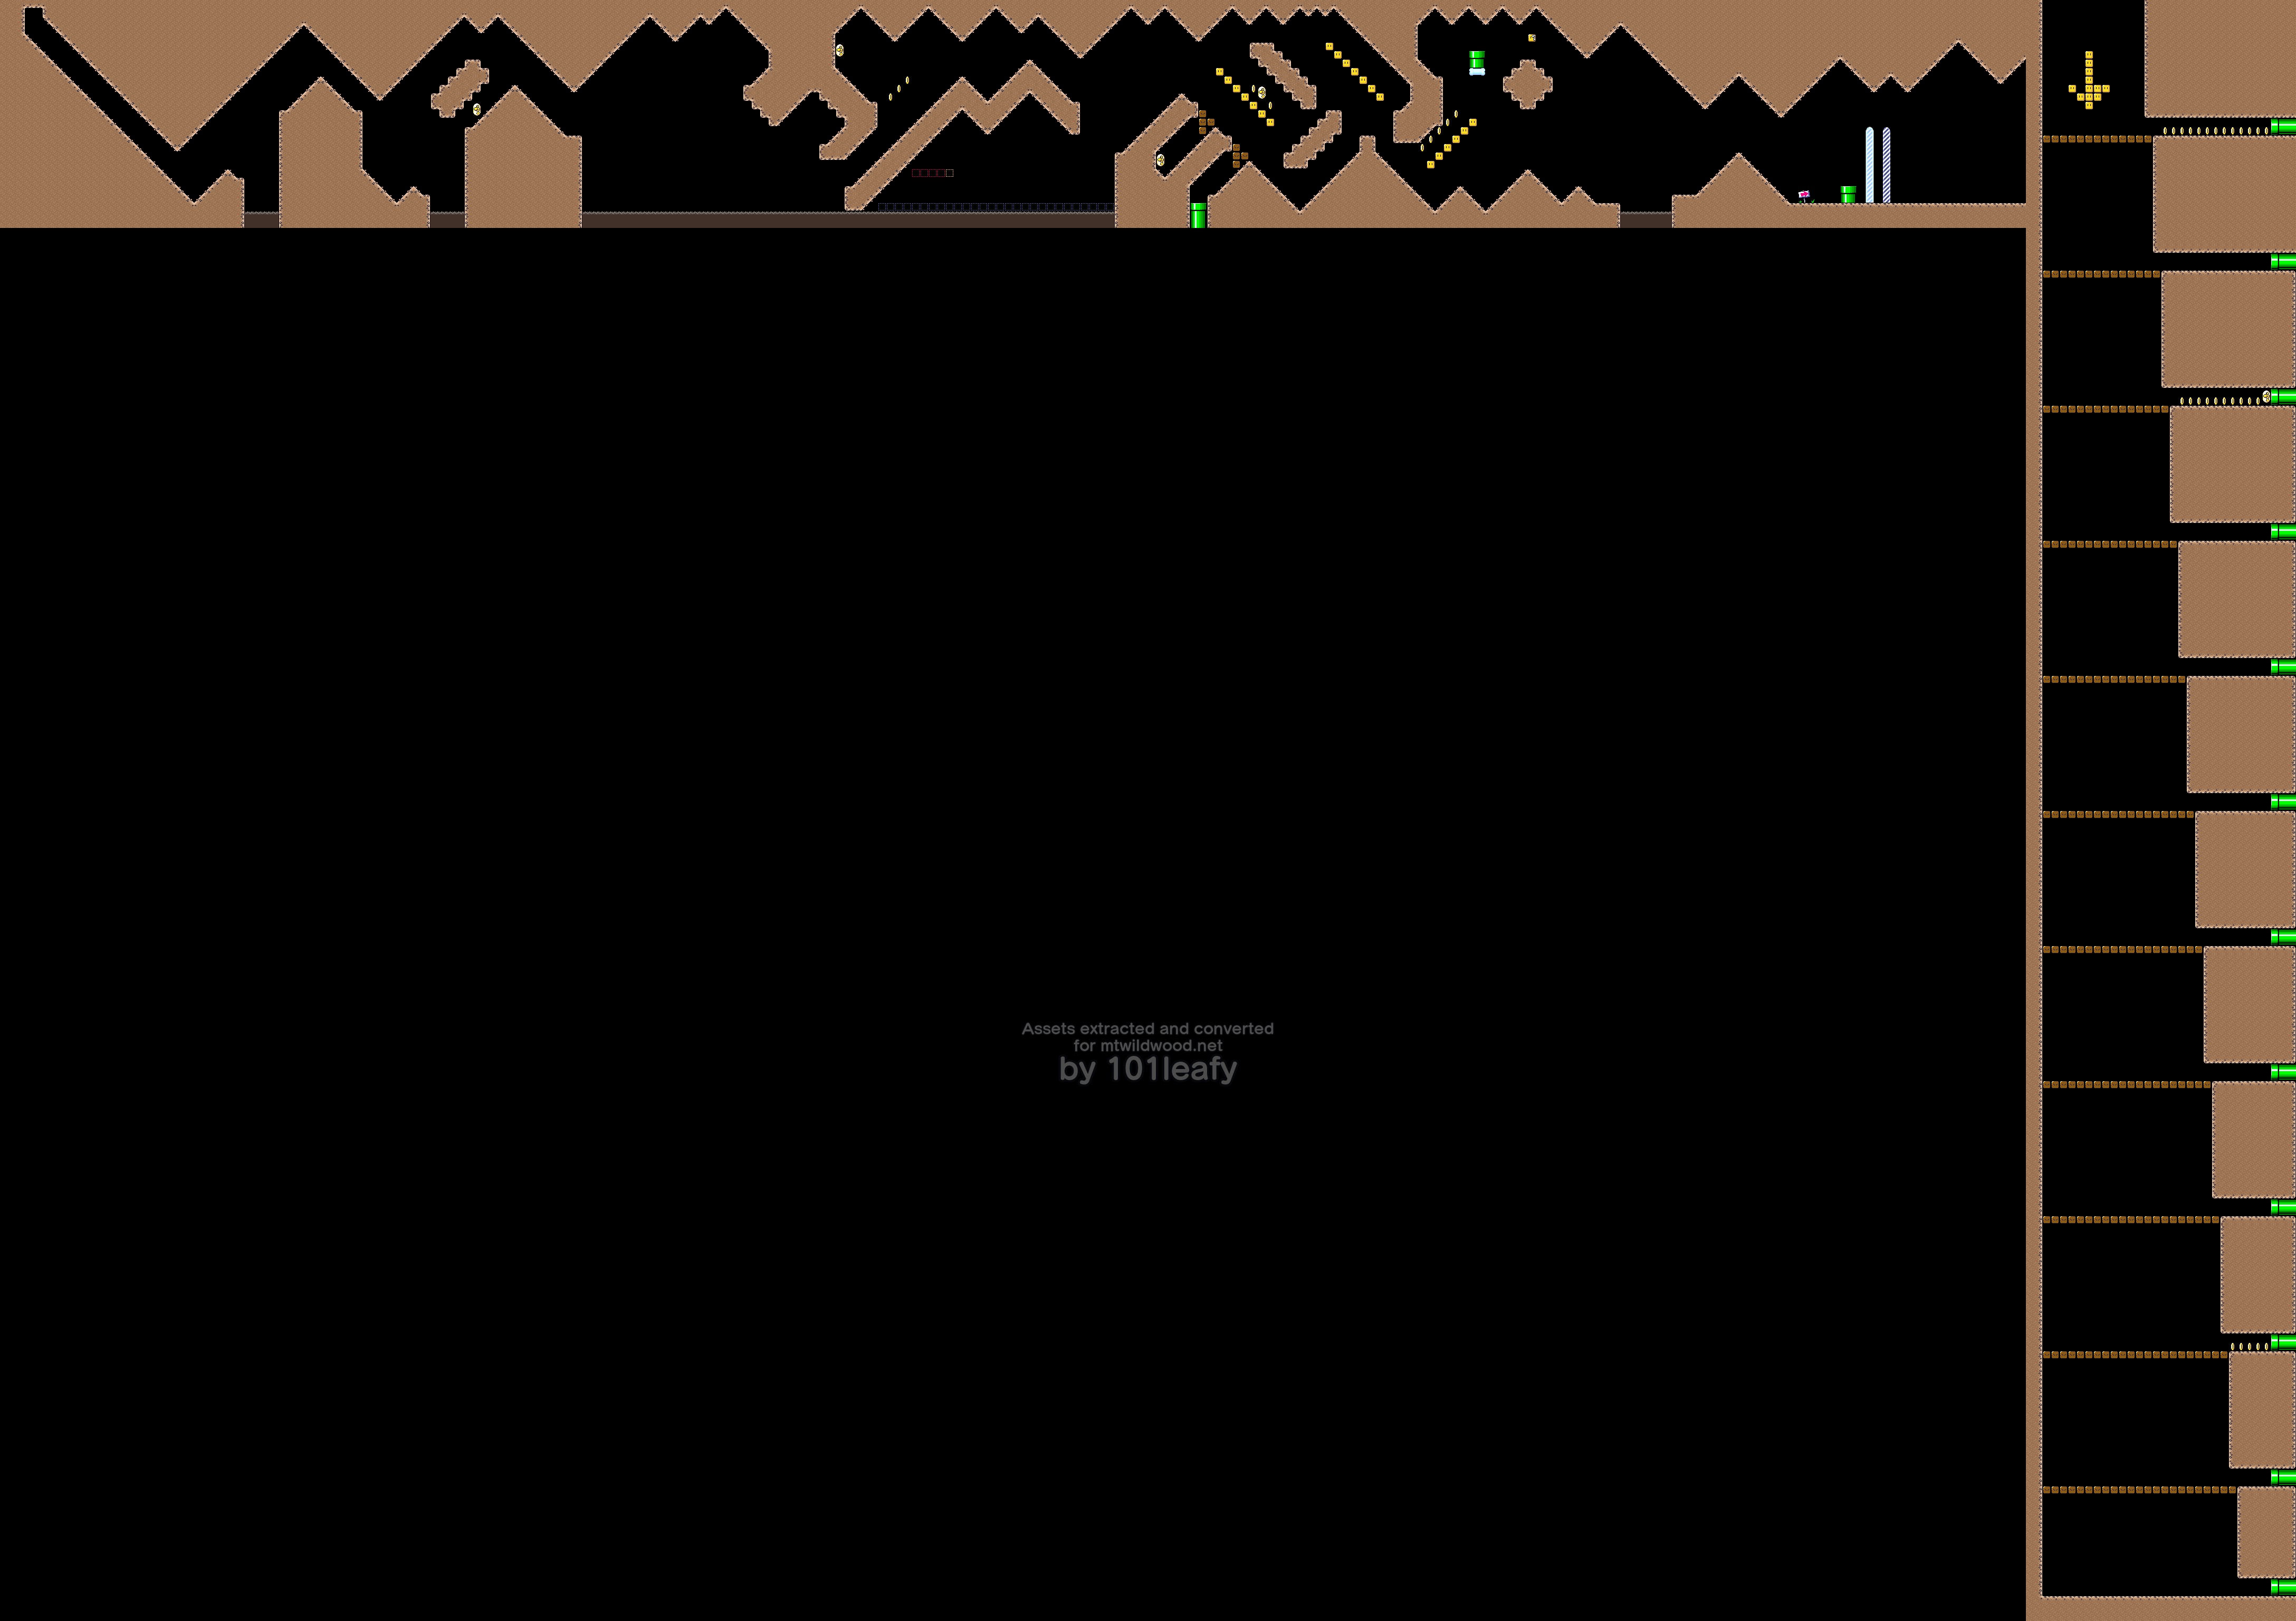
Each area was loaded with the game's own code and drawn at 1x from the blocks it left in memory. The areas reached through screen exits sit side by side, left to right. Red boxes mark enemies and items. Green boxes mark the other objects: platforms, the goal tape, switches, and the like. Dashed boxes mark the sprites not matched to a name. Blue boxes mark the pipe or door of each screen exit. An exit on a screen with no pipe or door is marked at the start of that screen. A box links to the enemy or item page, to its row on the objects page, or to where the exit leads.
Sprites
From the sprite data of each area (ROM $07:DA93 for the first). Each id was spawned with the game's own loader and matched by eye to the enemy lists in the manuals, Mario Mania (pp50-52), and the Shogakukan guide. Ids that are not matched stay as numbers. Ids with no enemy or item page link to their row on the objects page.
| Name | Sprite id | Count | Area |
|---|---|---|---|
| Platform | $B7 | 12 | $01D |
| Platform | $B8 | 3 | $01D |
| Falling platform | $C4 | 1 | $01D |
| 1-Up Mushroom | $78 | 12 | $01D, $0EA |
| Mega Mole | $BF | 3 | $01D |
| Chargin' Chuck | $95 | 1 | $01D |
| Goal tape | $7B | 1 | $01D |
| P switch | $3E | 1 | $0EA |
| Cape Feather | $77 | 2 | $0EA |
| Starman | $76 | 1 | $0EA |
| Super Mushroom | $74 | 1 | $0EA |
| Fire Flower | $75 | 1 | $0EA |
| Jumping Board | $2F | 1 | $0EA |
Screen exits
Where each screen's exit leads. Every pipe and door on one screen goes to the same exit.
- Area $01D, screen 8: Area $0EA
- Area $0EA, screen 0: Area $01D (secondary exit $EA)
- Area $0EA, screen 1: Area $01D (secondary exit $EA)
- Area $0EA, screen 2: Area $01D (secondary exit $EA)
- Area $0EA, screen 3: Area $01D (secondary exit $EA)
- Area $0EA, screen 4: Area $01D (secondary exit $EA)
- Area $0EA, screen 5: Area $01D (secondary exit $EA)
- Area $0EA, screen 6: Area $01D (secondary exit $EA)
- Area $0EA, screen 7: Area $01D (secondary exit $EA)
- Area $0EA, screen 8: Area $01D (secondary exit $EA)
- Area $0EA, screen 9: Area $01D (secondary exit $EA)
- Area $0EA, screen 10: Area $01D (secondary exit $EA)
- Area $0EA, screen 11: Area $01D (secondary exit $EA)
- ROM names $04:A136, event $05:D625, sprites $07:DA93
Sunken Ghost Ship · #6 Wendy's Castle · Chocolate Fortress · Chocolate Island 5 · Choco-Ghost House · Chocolate Island 1 · Chocolate Island 3 · Chocolate Island 2 · Chocolate Secret